Hi, all-
Below is the link to a blog post I wrote for the Harvest House Publishers' website. The tea is easy to make in bulk, so when you need soothing in a hurry, you'll have the ingredients on hand.
Enjoy, and blessings to you and yours!
https://www.harvesthousepublishers.com/blog/feeling-overwhelmed-find-calm-in-the-midst-of-chaos
Thursday, May 12, 2016
Thursday, March 31, 2016
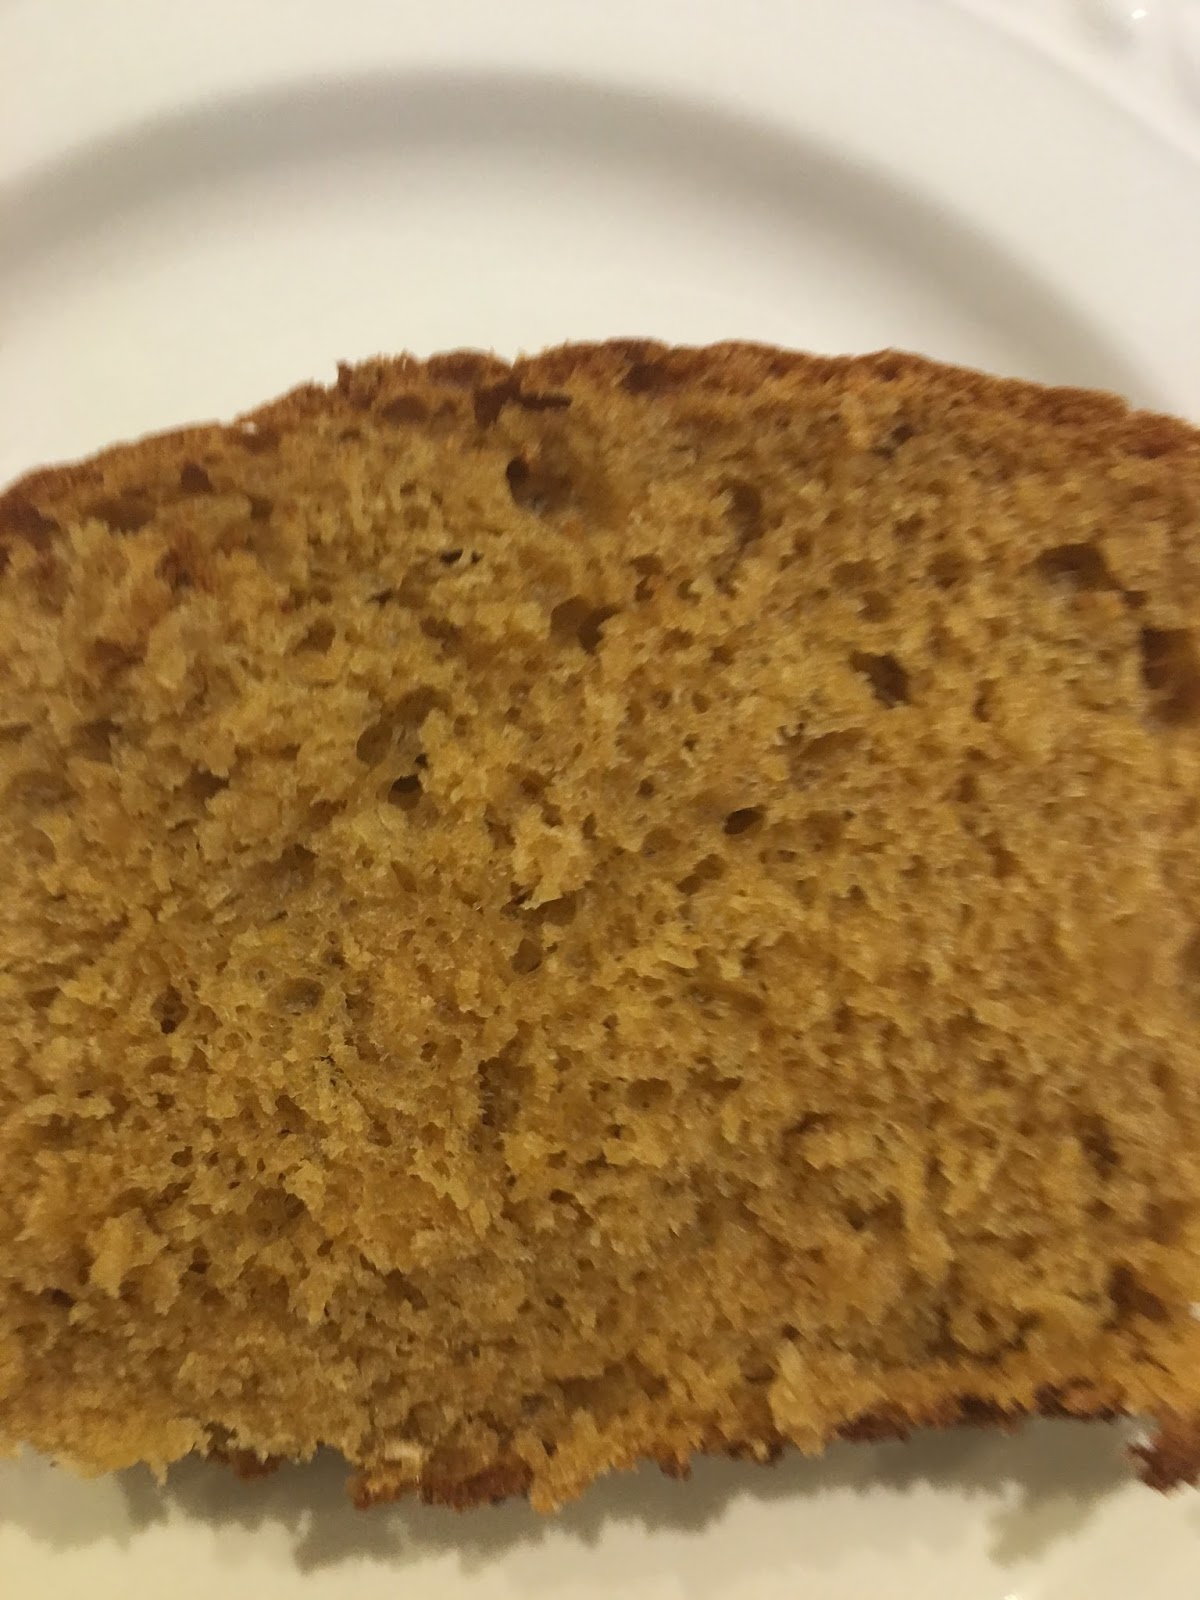
No-Knead Oatmeal Bread
Hello, all, and happy spring!
The sun is shining and the temperature is mild...something no one who lives in the Pacific Northwest takes for granted at this time of year. There's a reason why we are known for having such lush, green plants and trees, and it's a direct result of all the rain we endure in the winter and springtime. (Days and sometimes weeks at a time!) So when we are blessed with a sunny day, we take advantage of it!
When the sun shines, we get outside if at all possible. But we still must feed our loved ones, and today's recipe might work well on such a busy day. You see, it's a recipe for yeast bread, but there's no need to knead. The bread is tasty and makes a good sandwich bread, which you can use for tomorrow's lunch if you have any leftovers. Really, that's rather surprising to me, because a no-knead bread generally is crumbly, while this loaf performs quite well.

The bread may not be pretty, but it's a great addition to your recipe cache. It works up fairly quickly, takes minimal input from you, and produces a tasty loaf that will put a smile on your family's faces. What's not to like about that?

No-Knead
Oatmeal Bread
2 to 2½ cups all-purpose
flour
1 cup water
¼ cup molasses
¼ cup butter
1 egg
I hope your day is going well and that there is time in your day to pause and simply glory in God's creation. To my way of thinking, that is always a boost to the spirit.
Blessings and peace to you and yours,
Georgia
The sun is shining and the temperature is mild...something no one who lives in the Pacific Northwest takes for granted at this time of year. There's a reason why we are known for having such lush, green plants and trees, and it's a direct result of all the rain we endure in the winter and springtime. (Days and sometimes weeks at a time!) So when we are blessed with a sunny day, we take advantage of it!
When the sun shines, we get outside if at all possible. But we still must feed our loved ones, and today's recipe might work well on such a busy day. You see, it's a recipe for yeast bread, but there's no need to knead. The bread is tasty and makes a good sandwich bread, which you can use for tomorrow's lunch if you have any leftovers. Really, that's rather surprising to me, because a no-knead bread generally is crumbly, while this loaf performs quite well.
The bread may not be pretty, but it's a great addition to your recipe cache. It works up fairly quickly, takes minimal input from you, and produces a tasty loaf that will put a smile on your family's faces. What's not to like about that?

No-Knead
Oatmeal Bread
2 to 2½ cups all-purpose
flour
¾ cup rolled oats
1 tsp. salt
2¼ tsp. (1 package)
active dry yeast1 cup water
¼ cup molasses
¼ cup butter
1 egg
In a large bowl, combine
1 cup of the flour, rolled oats, salt, and yeast; blend well.
In a small saucepan, heat
the water, molasses, and butter to quite warm (120º to 130º). Add the warm
liquid and the egg to the flour mixture. Using electric mixer or beaters, blend
at low speed until flour mixture is incorporated and then turn the mixer to
medium speed and continue mixing for 3 minutes. Stir in an addition 1 to 1½
cups of the flour to form a stiff batter. Cover the bowl with a towel and let
the batter rise in a warm place until doubled, about 45-60 minutes.
Stir down the batter and
then pour it into a greased loaf pan. Cover and let rise until the batter
reaches the top of the pan.
Preheat oven to 375º and
bake for 35 to 40 minutes or until done. Remove the bread from the pan
immediately and cool on a wire rack.
Thursday, March 17, 2016
Using Epsom Salt in the Garden Helps Plants Grow Lush and Productive
Hello, all!
I was asked to write a guest blog post over at Amish Reader, and decided that--because the days are lengthening and warming up--I'd write about the uses of Epsom salt in the garden. I learned the secret of using Epsom salt many years ago from an elderly Amish Mennonite woman, and since then I've expanded my use to include the veggie garden and fruit trees.
You can read about these uses at http://www.amishreader.com/2016/03/14/a-gardening-secret-learned-from-the-amish-article-by-georgia-varozza/
Enjoy!
Blessings,
Georgia
Saturday, December 26, 2015
Homemade Cough Syrup!
I've seen recipes for homemade cough syrup all over the internet lately and thought I'd add mine to the lot.
Here it is, in all its boozy glory:

1-2 white onions, peeled and thinly sliced (I used one big onion)
2-4 lemons, unpeeled and thinly sliced (I used organic lemons and washed them well before slicing)
1 pint bottle peppermint schnapps
1 pint bottle blackberry brandy (or any flavor that appeals to you)
1 "honey bear" bottle of honey (or about 2 cups)
Slice the onions and lemons and add them in layers in your very clean jar. Pour in the honey, peppermint schnapps, and brandy. Stir to mix. (This will take a bit of doing because the honey is thick.) Now cover the jar with a tight fitting lid and set it in the refrigerator. You can use it immediately, but of course it will be better after it sits for a time. No need to take out the lemons and onions.
Keep in mind that this can sit in your refrigerator for months and months because the alcohol keeps mold from forming. (Although I'll still check things over carefully before I use it.) Every once in awhile, give the jar a swirl to move the contents around. I have no real idea if that is necessary, but it'll make me feel like I'm taking care of things!
When you need some cough syrup, take about 1 tablespoon for adults or 1/4 to 1/2 teaspoon for children. Remember there is alcohol in it--lots of alcohol to my way of thinking, but then again, I'm not a drinker--so have a care in dosing. But it's also true that there isn't anything in this cough syrup mixture that is actual "medicine," so it seems like a relatively safe alternative to the store-bought kind.
I hope you don't get sick this winter, but if you do, and if you have an aggravating cough to contend with, this just might be your solution.
Blessings to you and yours,
Georgia
P.S--I tasted this but so far haven't needed it to quiet a cough. I kind of hope I never need to find out how efficacious it is because that'll mean I'm sick! But it's in my fridge, just waiting to make me feel better. That's a good feeling!
Here it is, in all its boozy glory:

Homemade Cough Syrup
1 half-gallon canning jar, washed and sanitized, or 2 wide-mouthed quart jars1-2 white onions, peeled and thinly sliced (I used one big onion)
2-4 lemons, unpeeled and thinly sliced (I used organic lemons and washed them well before slicing)
1 pint bottle peppermint schnapps
1 pint bottle blackberry brandy (or any flavor that appeals to you)
1 "honey bear" bottle of honey (or about 2 cups)
Slice the onions and lemons and add them in layers in your very clean jar. Pour in the honey, peppermint schnapps, and brandy. Stir to mix. (This will take a bit of doing because the honey is thick.) Now cover the jar with a tight fitting lid and set it in the refrigerator. You can use it immediately, but of course it will be better after it sits for a time. No need to take out the lemons and onions.
Keep in mind that this can sit in your refrigerator for months and months because the alcohol keeps mold from forming. (Although I'll still check things over carefully before I use it.) Every once in awhile, give the jar a swirl to move the contents around. I have no real idea if that is necessary, but it'll make me feel like I'm taking care of things!
When you need some cough syrup, take about 1 tablespoon for adults or 1/4 to 1/2 teaspoon for children. Remember there is alcohol in it--lots of alcohol to my way of thinking, but then again, I'm not a drinker--so have a care in dosing. But it's also true that there isn't anything in this cough syrup mixture that is actual "medicine," so it seems like a relatively safe alternative to the store-bought kind.
I hope you don't get sick this winter, but if you do, and if you have an aggravating cough to contend with, this just might be your solution.
Blessings to you and yours,
Georgia
P.S--I tasted this but so far haven't needed it to quiet a cough. I kind of hope I never need to find out how efficacious it is because that'll mean I'm sick! But it's in my fridge, just waiting to make me feel better. That's a good feeling!
Cold Remedy Tea--Soothing Relief for Chest Colds, Coughs, and Scratchy Throats
Winter is here, and with the cold, dreary days comes cold and flu season. This tea recipe helps to reduce the unpleasant symptoms of scratchy throats, congested chest colds, and coughs. And believe it or not, it tastes sort of like chi tea with a bit of a zing to it. Even better, you probably have all the ingredients in your kitchen cupboards so there's no need to go to the store when you're not feeling your best.

1/2 tsp. cloves (whole or ground)
1/2 tsp. turmeric
1/2 tsp. thyme
2 tsp. honey or to taste
juice of half a lemon, about 1/8 cup (or use bottled lemon juice--the real stuff with no added ingredients)
If you are using ground spices, put them in a very fine mesh loose tea steeper, or simply measure the spices into the bottom of your mug. (I use ground spices because that's what I have, and I simply dump them into my mug.) Add the tea bag and pour boiling water into your mug, leaving enough room to later add the honey and lemon. Do not add the honey or lemon at this time.
Steep the tea and spices for 3-5 minutes, covered. Strain the tea: I use a coffee filter that I rubber band around the edge of my mug and then slowly pour the tea into the well of the filter. Because of the ground spices, it filters slowly into the mug, so be careful! You can also use several layers of cheesecloth, but coffee filters work better. Next, I add the honey and lemon. I like lots of lemon juice and honey in my tea, so I adjust the amounts to taste.
Now. Even though I filter the tea, it's still not clear, but it doesn't bother me and isn't gritty (at least not much!). If you let the tea sit in your cup, the cloudy residue from the spices will settle toward the bottom. You can drink carefully to keep at least most of the cloudy residue in the bottom, but I actually like to swirl the liquid in my mug before taking a sip. (I'm working under the assumption that by ingesting at least some of the residue I'm getting greater benefit!)
Next time you're feeling puny, give this soothing tea a try!
Blessings to you and your loved ones. Head out today and bless someone who needs it. In my opinion, that would be everyone!
Stay well,
Georgia

Cold Remedy Tea
1 green tea bag (you can use black tea if that's all you have)1/2 tsp. cloves (whole or ground)
1/2 tsp. turmeric
1/2 tsp. thyme
2 tsp. honey or to taste
juice of half a lemon, about 1/8 cup (or use bottled lemon juice--the real stuff with no added ingredients)
If you are using ground spices, put them in a very fine mesh loose tea steeper, or simply measure the spices into the bottom of your mug. (I use ground spices because that's what I have, and I simply dump them into my mug.) Add the tea bag and pour boiling water into your mug, leaving enough room to later add the honey and lemon. Do not add the honey or lemon at this time.
Steep the tea and spices for 3-5 minutes, covered. Strain the tea: I use a coffee filter that I rubber band around the edge of my mug and then slowly pour the tea into the well of the filter. Because of the ground spices, it filters slowly into the mug, so be careful! You can also use several layers of cheesecloth, but coffee filters work better. Next, I add the honey and lemon. I like lots of lemon juice and honey in my tea, so I adjust the amounts to taste.
Now. Even though I filter the tea, it's still not clear, but it doesn't bother me and isn't gritty (at least not much!). If you let the tea sit in your cup, the cloudy residue from the spices will settle toward the bottom. You can drink carefully to keep at least most of the cloudy residue in the bottom, but I actually like to swirl the liquid in my mug before taking a sip. (I'm working under the assumption that by ingesting at least some of the residue I'm getting greater benefit!)
 |
| Mug of tea. You can see that's it's not clear. |
Next time you're feeling puny, give this soothing tea a try!
Blessings to you and your loved ones. Head out today and bless someone who needs it. In my opinion, that would be everyone!
Stay well,
Georgia
Sunday, December 13, 2015
Will It Snow at Your House? Know Your Elevation!
Here in the Pacific Northwest, we have had a wet and windy winter so far, and the season has just begun. As it happens, snow is falling in my area this morning, and local weather forecasters are saying that we are almost guaranteed to see some snow if we live above about 500 feet in elevation.
Here's my nod to "just in case." (Because the power usually goes off!)


So how do you know if you're destined for the white stuff, or if you will dodge the next snow storm? It's easy enough to find out because there are websites that will tell you just what the elevation is right where you live:
www.veloroutes.org
or
www.whatismyelevation.com
You can actually type in your street address along with the city/state/etc. where you reside and these nifty websites will spit out your elevation in feet or meters, depending on your preference.
Give it a try and see if you should batten down the hatches and prepare for blizzard conditions! And if you like to can food, these websites are handy for finding out if you need to increase your processing time in order to safely can your food. But no matter what, this information is just plain fun to know.
Enjoy!
Wednesday, November 25, 2015
Handspun Mittens
It's cold around here and that means I get to wear my fingerless gloves, regular gloves, and mittens--all hand knit, of course!
But probably my favorite pair are these:

The yarns are handspun (for the knitting as well as the embroidery.) After completing the knitting, I slightly fulled the mittens to smooth out the stitching as well as to add warmth. Next, I added the embroidery. (Embroidered freehand.) Even more fun, the dying was done using cake frosting decorating gels. The colors are saturated, which is what I was going for. Nothing like a bright and cheery pair of mittens to see me through the long winter!
Thanksgiving is tomorrow. May you have a peaceful day. :)
Blessings,
Georgia
Subscribe to:
Posts (Atom)